 The effort for this year’s CW station started about three days after the end of Field Day 2010.
We’d had some good success with inverted-Vee Yagi-Uda wire antennas in previous years, so it was proposed to erect similar structures this year. The goal was to hit both 40-meter and 80-meter bands with dual three-element antennas. This would be a six element array. We also wanted to cover the 20/15/10-meter bands, and decided to try a Mosley three-element beam for that. With the major concepts decided, it was time to design the wire beams.
4NEC2X was enlisted for the purpose. Designs were entered, run, tweaked, run again. We made liberal use of the auto-solver built into this software tool. This solver is able to automatically adjust parameters, re-run the model, measure the result against user-defined goal criteria, re-tweak some parameters, and try again. We set it running over night, for many nights.
The 40-meter Vee was the first out. It showed a really nice Gain and F/B ratio, with fairly flat and low-SWR response across the CW band section. The 80-meter was tackled next. It was less gain-ful, being too close to the ground, but still showed a great F/B, SWR, and launch angle. Finally, the two NEC decks were merged to a single design file, and we allowed the 4NEC2X to search out the best spacing between the two driven elements. When the last run was made, we were just two weeks from Field Day!
A Tri-Master
Months earlier we had ordered via the Wild and Wonderful Web several sets of portable antenna masts. These were of both the fiberglass and aluminum persuasion. It was decided to use the fiberglass for the inverted-Vee as we thought that these would minimize any interaction between the mast and the antenna elements. The idea for these masts was to erect them the way we’d learned in the previous year on the GOTA station.
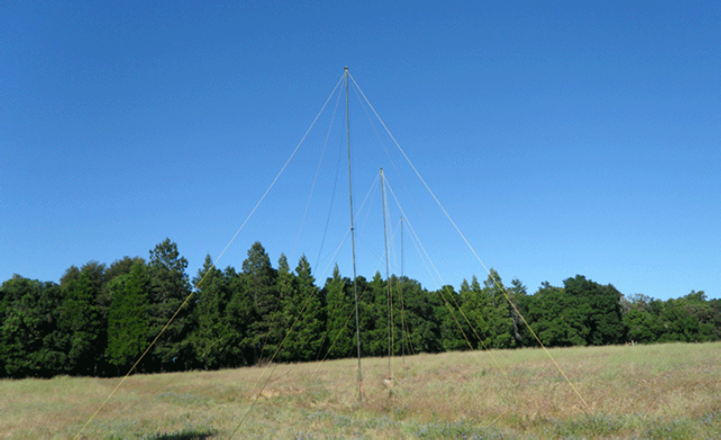 Raise them one section at a time—lift/insert, lift/insert, with pairs of guy-lines being carefully payed out as the height increased. A team of five: two to man each pair of guy-lines, two to lift, one to insert. The design goal: 45 feet = twelve sections. Once up and stable, we would use the halyards with top pulleys to raise/lower the elements.
 The 100-foot end-to-end spacing for the three supporting masts, the 200 foot side-to-side wingspread for the individual wire elements, the various spacing between each element, and the distances for the all of the guy-lines, were determined directly from the model, or were calculated using classic Trigonometry. This last done using a now-classic piece of K&E calculation equipment (SlideRule).
There were three element-spacing control lines—one along the top of the Vee (ie. its ‘boom’ line), the other two out about 90 feet on either side of the array on the down-end of the sloping arms of the Vee. The spacing of the six elements was marked out on each of these three rope-lines identically, with color-coded tape; each was set with knots and nylon loops. With the three masts, each with two sets of four guy lines, the halyards to raise and lower the top “beam” lines, the far-end front and back tensioning lines for the ‘beam’, and the two outside wing lines, we had somewhere around 2000 feet of rope and line to prepare, pre-label, put up and manage.
The elements themselves were payed out from two 500 foot rolls of #14 solid copper on a sufficiently long driveway, cut to length, color coded with that same tape as was used for the ropes, and wound on spools. We cut the wires about 0.5 meter long each side, to allow for on-site pruning to frequency. With all that done, a sigh of relief.
We Tackle the Mosley
How to raise a Beam without a Tower
 After much head-scratching, a thought occurred—why not pull it up the shaft of one of the aluminum masts? We could make an elevator of sorts, clamp the beam to it, use ropes and pulleys to raise it up the mast! More follicular-digitation—how does one do this with all the guy lines needed, and keep the mast from collapsing? What about once it’s up, how is it to be supported, prevented from bowing and collapsing? How do we get some mid-span guy lines up there?
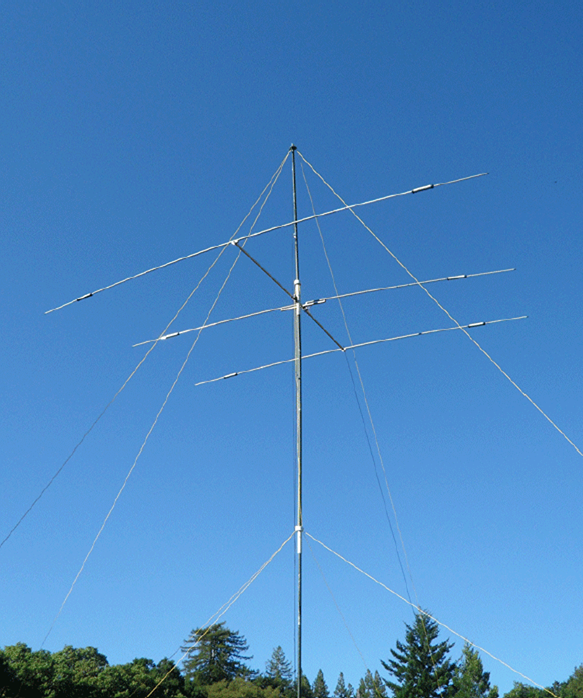
Many pencil-and-paper diagrams, emails and phone calls led us to a give-‘er-a- try design. We’d raise up an Aluminum mast to 45 feet (15m). This mast would have one set of four guy lines from the top, spread out at a 30 degree from vertical angle. Arrange these guy-lines North-South and East-West. The Mosley boom is about 4 meters long, and, if centered on the mast, when raised it would just touch the N-S guy lines at 35 ft (12m) up. Great! But what about the mid-height guy lines? Ahh, that was solved by “the Armatures.”
We needed a gadget that we could clamp the Mosley’s boom to that could be slid up and down the two-inch aluminum pole. This key piece was created from various pieces of PVC Schedule-40 plumbing purchased at the local Orchard Supply Hardware store. One of these we clamped the to the Yagi’s boom using, of course, plumber’s steel pipe hanging tape; the other we would use to “follow behind” as we hoisted up the beam. It would be about 10 feet (3 meters) below the beam’s armature, about where we’d need the mid-height guy lines. We attached another set of lines to this “trailing armature”.
All Ready
Field Day (or, more properly, the morning before FD) was very nice. Not insufferably hot as it had been the two year previous. We scouted out the location for the 80/40 array. Found a good spot for the Mosley. Orientations were made—discussions of the declination angle and the “best way to hit the U.S. of A. from Bonny Doon, CA.” Net result was “aim EAST, young man.”
 So we paced off distances, pounded in the big metal stakes (3 ft contractor stakes are great!). Brought out all the masts in their bags, the spools of rope and wire. Then, of course, Reality intruded. We’d started raising the first mast, and were going quite well actually, until at about 35 feet when that ol’ Design Squirrel wanted to play. Wibble/Wobble, too many guy lines, too few hands.
“Any higher and we’ll snap the masts.”
“Oh, come on. We can do it”.
“Uh, not sure here—looking kinda iffy.”
Sigh. So it was decided that “thirty-five feet looks pretty good, don’t you think?” . . . Okay.
Enter (then) the Murph . . .
“Hey dudes. Lemme help ya unwind all that rope. I got a neato trick that makes it fast!”
Uh . . . yeah. Forty minutes later we’re still unravelling the mess. [Note to self: must have better way to manage 2,000 feet of rope when in middle of two-foot tall dry grass field].

We be HAMs
We live for challenge
and
opportunity.
We laugh at the sun.
We have Zinc paste,
Hats and Boots,
and the whole day ahead of us!
Lines were untangled, guys were set, halyards raised and lowered. The color-coded ropes and #14 wire elements were selected, attached, trimmed and finally we were able to stand back, and view—a circus tent without the tent?! [Ha ha, funny joke guys] Now that you’ve had your laugh, we’ve one more to raise. It should be easy, all Aluminum. Should be able to put up the full twelve sections.
And, hey, we’ve still got two hours of sunlight.
On to the Mosley
And there we were, a now fully-skilled mast-raising crew. In no time, we had 45 feet of Army-green aluminum standing up, pointing nearly vertical. OK, and fine for that. Let’s get this beam together. Easy stuff, this, and under the trees in the shade too! Hook the color-coded elements to their other matching part, and then clamp them at their color-coded places on the beam. Clamp the beam to the armature. Now, let’s up with it.
Pulling and laughing, much amazement at how easy this one is! Almost too easy.
“Uhh, guys”
This from the distant observer.
“What? — we’re almost up with it.”
“Don’t you think you ought to attach a coax or something?”
THUD!
Amazing when and where BRILLIANCE offers itself.
Needless to say, after much ribbing and nudge-nudging, a thinner-than-most coax is attached and UP she goes—again. Easy the first 10 feet—we’d done it once before. Then up some more, and, well, a bit of gimme starts to show itself. Quick, man the back-stays, keep a keen eye on that mast. Never mind the sun. Up and up she’s a go’in. Whoa whoa, no, pull that side, oh gads too much. Let off the other. OK now just pull it up the rest of the way.
WOO HOO!
 Look At That!!
Much back patting and tying off of all guy-lines, halyards, and loose blood vessels.
We’re Done.
Heck, we be frazzled.
Now, about that Pizza for dinner …
(Continue with Part II of this article.)
Attributions
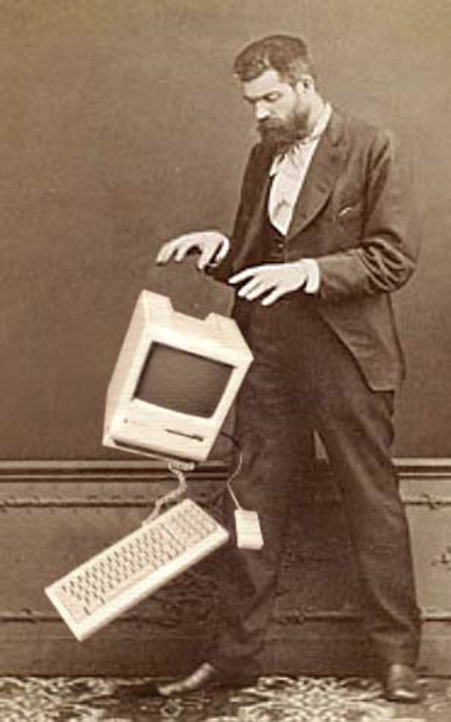
“Levitation” : portrait (after Édouard Isidore Buguet) © beierle + keijser
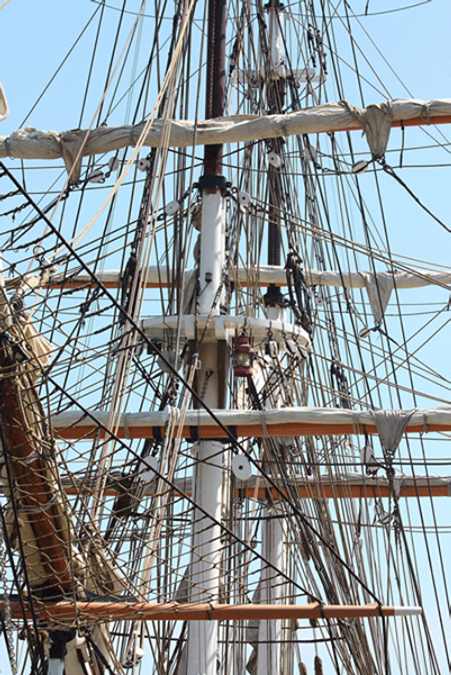
“Ship Rigging” : courtesy of www dot publicdomainpictures dot net
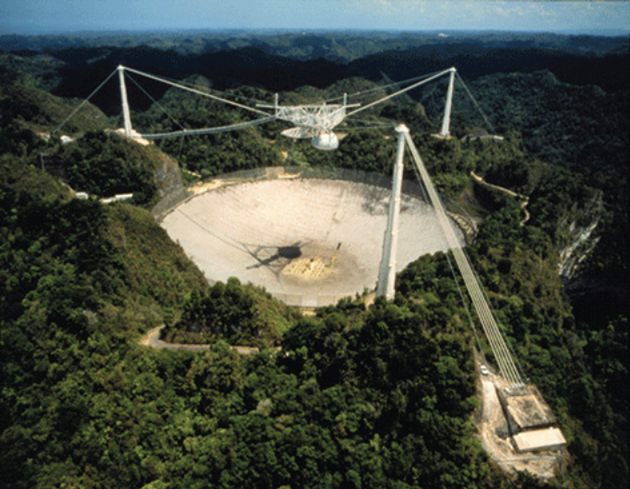
“Ariceibo” : courtesy of the NAIC – Arecibo Observatory, a facility of the NSF